Capturing the perfect sunset photo requires a blend of timing, location, and technique. To achieve stunning results, the photographer should aim to shoot during the golden hour, typically the last hour before sunset, when the light is soft and warm. This crucial time enhances the natural colors, making them more vibrant and visually appealing.
Selecting the right location also plays a significant role in sunset photography. A vantage point that provides an unobstructed view of the horizon can create a breathtaking backdrop. Incorporating elements like water, trees, or silhouettes can add depth and interest to the image, transforming a simple scene into a captivating photograph.
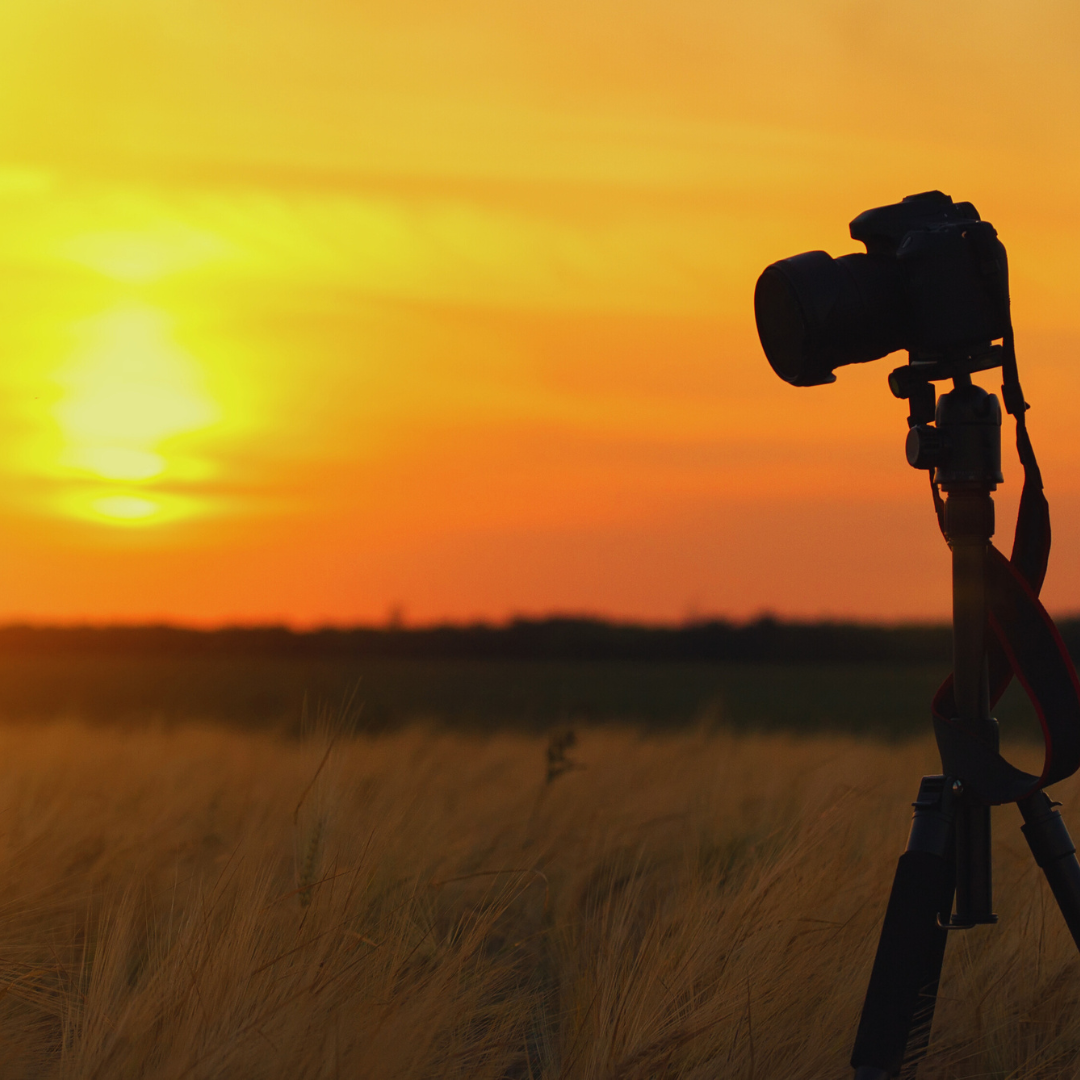
Finally, practicing a few essential photography tips can elevate the quality of sunset images. Utilizing a tripod helps maintain stability and sharpness, while exploring different angles can lead to unexpected and stunning compositions. Mastering these elements makes it easier to capture sunsets that leave a lasting impression.
Understanding Sunset Photography
Capturing a sunset requires knowledge of both the natural phenomena and the technical aspects of photography. He or she must grasp the science behind sunsets, know the right camera settings, and recognize the importance of white balance to achieve stunning results.
The Science of Sunsets
Sunsets occur when the sun descends below the horizon, causing the atmosphere to scatter light. The longer wavelengths of red and orange hues dominate during this time. Factors like weather, air quality, and geographic location affect sunset colors.
Clouds can enhance a sunset by reflecting light, creating richer colors. Photographers should observe how the sun interacts with the landscape. Changes in light rapidly occur, so preparation is key. Being present at the location well before the sun sets helps in capturing the best moments.
Camera Settings for Sunset
Setting the camera correctly is essential for vibrant sunset photos. Use manual mode to have full control over exposure settings. The following settings are recommended:
- Aperture: f/8 to f/16 keeps most of the scene in focus.
- ISO: Start at 100-200 to minimize noise; adjust as needed.
- Shutter Speed: Varies depending on light, but slower speeds can enhance color saturation.
Focus on the foreground while ensuring that the sunset remains the focal point. Use exposure bracketing to capture multiple exposures for HDR processing later, enhancing the range of colors and details in the final image.
Importance of White Balance
Correct white balance ensures that colors appear natural and true to life. Auto white balance can misinterpret sunset colors; thus, manual adjustments are recommended. Photographers can experiment with different color temperatures:
- Cloudy Setting: Adds warmth, enhancing orange and red tones.
- Shade Setting: Can create a cooler effect, good for artistic shots.
Adjusting white balance helps in achieving the desired look. Keeping an eye on how it impacts color saturation throughout the sunset will result in a more compelling photograph. Remember to review and adjust settings as the light changes with the setting sun.
Technical Aspects of Capturing Sunsets
Capturing the perfect sunset involves several technical considerations. Exposure, dynamic range, aperture settings, and stability factors all play significant roles in achieving the best results.
Exposure and Dynamic Range
Exposure in sunset photography is critical. The dynamic range of a scene can be quite broad, with bright highlights and deep shadows.
To balance this, photographers can use techniques like exposure bracketing, where multiple shots at different exposures are taken. This helps capture details in both highlights and shadows.
For optimal results, consider using high dynamic range (HDR) processing. With HDR, images are merged to create a final photo that represents a wider tonal range than a single exposure can achieve.
Aperture and Depth of Field
Aperture significantly affects depth of field and light capture. A wider aperture (like f/2.8) is beneficial for low-light conditions but results in a shallow depth of field. This may blur backgrounds but emphasizes the subject.
Conversely, a smaller aperture (such as f/8 to f/16) increases depth of field, keeping more of the scene in focus. This can add context to a sunset image by including foreground elements.
Using neutral density filters can also be advantageous. These filters reduce light entering the camera, allowing for longer exposures even in bright conditions, which can enhance the movement of clouds or water.
ISO and Shutter Speed
ISO settings determine the camera’s sensitivity to light. A low ISO (100-200) minimizes noise and is ideal for capturing detail in sunset scenes. However, as light decreases, higher ISOs may be necessary, but they can introduce grain.
Shutter speed should be adjusted accordingly. Slower shutter speeds are useful for light trails and blurred motion, while faster speeds freeze action.
For dynamic scenes, adjusting the shutter speed creates different effects. A well-balanced combination of ISO and shutter speed helps maintain image quality while preserving the mood of the sunset.
Using a Tripod and Remote Release
Stability is essential for clear sunset photos. Using a tripod minimizes camera shake, particularly during long exposures. It allows for precise framing without the risk of blurriness.
A remote release is also beneficial. This tool enables the photographer to take a shot without physically pressing the shutter button, which can introduce unwanted movement.
Together, these tools enhance focus and clarity, ensuring that the finest details of a sunset are captured without compromise.
Composition Techniques for Sunset Photos
Effective composition is essential in capturing stunning sunset photos. By emphasizing foreground interest, incorporating silhouettes, and applying the rule of thirds, photographers can enhance their images during this magical golden hour.
Incorporating Foreground Interest
Foreground elements can add depth and context to sunset photos. Common examples include trees, rocks, or flowers that frame the scene. These objects can lead the viewer’s eye to the horizon where the sun sets.
When selecting foreground subjects, it’s crucial to consider angles and lighting. Backlighting can create dramatic shapes, while interesting textures can engage viewers. Experimenting with different focal lengths can further enhance details, providing a compelling visual story.
Capturing Silhouettes
Silhouettes offer a striking contrast against colorful skies. To capture effective silhouettes, position the subject between the camera and the sunset. This technique highlights shapes and outlines while allowing vibrant colors to dominate the background.
For the best effect, choose subjects with clear, recognizable shapes. Common examples include trees, people, or landmarks. Keeping the exposure balanced ensures the background captures the sunset’s hues while the subjects remain dark.
Applying the Rule of Thirds
The rule of thirds is a fundamental compositional technique. To apply this rule, divide the frame into a 3×3 grid, placing points of interest along the grid lines or at intersections. This approach creates balance and visual appeal.
When photographing sunsets, consider placing the horizon along the bottom or top third of the frame. This positioning allows for more sky or foreground, depending on what is more visually striking. Properly utilizing this technique can transform a simple sunset into a captivating image.
Post-Processing and Final Touches
Post-processing is essential for enhancing sunset photos. Utilizing the right file formats and software can significantly improve the final result. This section covers the benefits of RAW versus JPEG, techniques to enhance colors, and exporting options for various platforms.
RAW vs JPEG: Pros and Cons
Choosing between RAW and JPEG files affects image quality. RAW files retain more detail and dynamic range, allowing for extensive edits without loss of quality. This is particularly useful for adjusting exposure and color saturation in sunset photos.
JPEG files, while smaller and easier to share, compress images, which can reduce quality. Editing JPEGs limits flexibility in fine-tuning, making them less ideal for intricate post-processing. For photographers using full-frame or medium format cameras, RAW is often the better choice for achieving vibrant sunset colors.
Enhancing Sunset Colors in Post-Processing
Color enhancement is crucial for capturing the essence of a sunset. Software like Lightroom provides tools to adjust hue, saturation, and luminance effectively. To enhance sunset colors, start by increasing vibrancy and saturation.
Adding contrast can deepen the sky’s appearance, making the sunset more pronounced. Utilizing graduated filters helps to balance the exposure between the bright sky and darker foreground elements.
Using presets or manually tweaking settings can yield impressive results. Photographers often find that subtle adjustments yield significant improvements in color depth. Experimentation with different settings will help achieve the desired effect.
Exporting for Print and Web
Export settings are critical for the final presentation of sunset photos. For web use, a resolution of 72 PPI suffices, while print requires at least 300 PPI for sharpness.
Choosing the right format is equally important. JPEG is common for web sharing due to its smaller file size. For prints, TIFF or high-quality JPEG ensures maximum detail retention.
Photographers should also consider color profiles. sRGB is suitable for online sharing, while Adobe RGB is recommended for print. Ensuring optimal settings enhances the viewing experience, whether online or in physical form.