Painting realistic portraits is a skill that artists of all levels aspire to master. Achieving lifelike results involves a deep understanding of human anatomy, effective use of color, and meticulous attention to detail. With the right techniques and practice, anyone can improve their portrait painting abilities and create stunning representations of their subjects.
The process starts with foundational skills, such as drawing proportions and capturing likenesses. He or she must also consider lighting and how it affects skin tones and facial features. By observing these essential elements, artists can create depth and emotion in their work.
Additionally, selecting the right materials can make a significant difference. Using quality paints, brushes, and canvases allows for smoother application and better blending. These factors combine to enhance the final outcome and elevate the portrait to a new level of realism.
Understanding Portrait Painting
Portrait painting encompasses a rich history, diverse styles, and a focus on anatomy and proportions. These elements form the foundation of creating realistic portraits.
History and Evolution
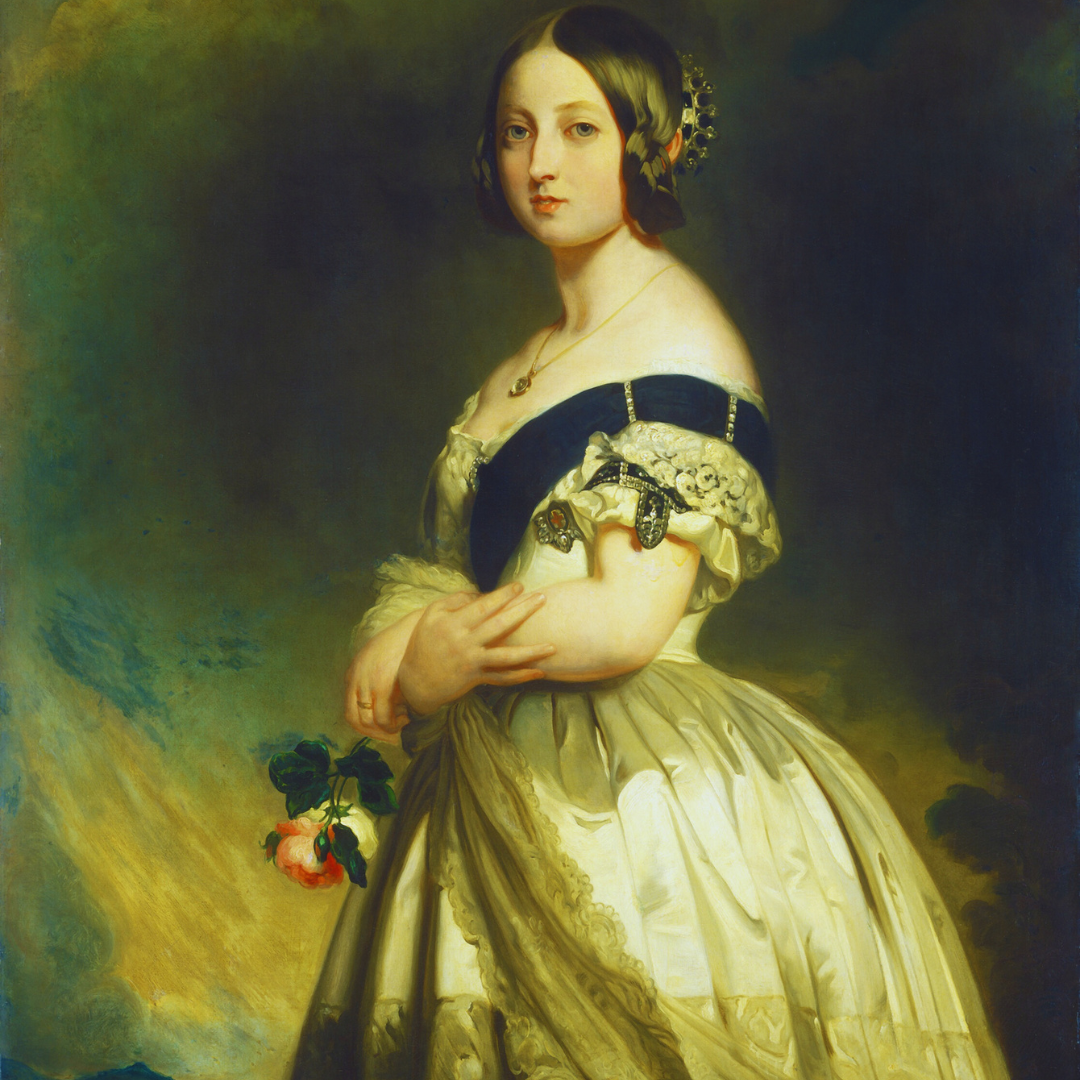
Portrait painting has roots dating back to ancient civilizations. The Egyptians utilized flat, symbolic representations in tomb paintings. This method evolved during the Renaissance, where artists like Leonardo da Vinci and Titian introduced lifelike representations through techniques such as chiaroscuro.
As art movements progressed, styles shifted with the advent of Impressionism and Post-Impressionism. Artists began emphasizing expression and mood over realism, allowing for more personal interpretations. The 20th century brought further innovation, with styles ranging from Cubism to Photorealism, showcasing the versatility of portraiture in art history.
Different Styles and Techniques
Various styles exist in portrait painting, each with unique techniques. Traditional oil painting remains popular for its depth and richness. It allows for blending and layering, achieving subtle variations in skin tones.
Acrylic paints dry faster and offer a different finish, benefiting artists who prefer quicker results. Pastel portraits can create soft textures and a vibrant color palette. Techniques like glazing, scumbling, and layering enhance realism and depth, while digital painting introduces modern tools for creating portraits.
Anatomy and Proportions
Understanding human anatomy is crucial for realistic portrait painting. Artists study the structure of the head, observing key features such as the eyes, nose, and mouth. Studying the proportions—typically based on the “head height” measurement—helps in achieving accurate representations.
Facial landmarks guide positioning, ensuring features align correctly. For instance, the eyes generally sit halfway down the head, while the bottom of the nose is at the halfway point between the eyes and the chin. Mastery of these concepts allows artists to create portraits that resonate with authenticity.
Setting Up Your Workspace
A well-organized workspace significantly enhances the painting process. Proper materials and setup lead to better focus and creativity. Attention to details in this environment is essential.
Choosing the Right Materials
Selecting quality materials is crucial for achieving realistic portraits. Start with professional-grade paints, such as oil or acrylic, which offer depth and vibrancy. For brushes, choose a variety of sizes and shapes, including fine detail and broader brushes for base layers.
Palette options: A wooden or glass palette facilitates easy mixing and cleanup.
Consider using a canvas or specialty paper designed for portrait painting.
In addition, having a good easel allows for a comfortable painting angle and stability.
Preparing Your Canvas or Paper
Preparing the canvas or paper is vital to ensure the paint adheres properly. If using canvas, consider priming it with gesso to create a smooth, uniform surface. This step prevents absorption and enhances color vibrancy.
For paper, selecting the right weight is important. Heavyweight, rag-based paper prevents warping and allows for multiple layers of paint.
Before starting, lightly sketch the portrait outline using graphite or charcoal. This guide aligns proportions and key features, ensuring accuracy in the painting process.
Arranging Lighting and Model
Proper lighting is essential for capturing the subject accurately. Natural light is often the best option, so positioning the workspace near a window is ideal.
If artificial light is used, consider an adjustable lamp with a daylight bulb to mimic natural conditions.
Position the model comfortably and ensure they are well-lit from one direction to create realistic shadows and highlights.
Use a three-quarter angle to provide dimension, revealing the subject’s features clearly. Plan the composition based on this setup for optimal results.
The Painting Process
The painting process involves several key stages that transform a blank canvas into a realistic portrait. Each step requires careful attention to detail, guiding the artist from initial concepts to the final artwork.
Sketching the Outline
The first stage of portrait painting is sketching the outline. This foundational step serves as the framework for the entire piece.
Using a pencil or charcoal, the artist gently marks the major shapes and proportions of the subject. Key features such as the eyes, nose, and mouth need to be accurately represented.
To maintain proportion, artists often use a grid technique or measure distances with their brush. Light, confident lines are preferable, allowing for adjustments if needed.
This stage establishes the composition, ensuring that the elements of the portrait will fit harmoniously on the canvas.
Blocking in Colors
After the outline is complete, the next step is blocking in colors. Here, the artist applies a base layer of paint to define the general color areas.
Using a large brush, the artist focuses on the main skin tones, hair colors, and backgrounds. Neutrals and mid-tones are typically chosen at this stage to create a realistic look.
The artist ensures to blend colors smoothly, avoiding harsh lines. This layering sets the stage for further detail and adds depth to the painting.
Working from dark to light helps build a three-dimensional effect. This phase is crucial for establishing the overall mood of the portrait.
Adding Details and Textures
Once the colors have been blocked in, the artist moves on to adding details and textures. This stage involves refining features and enhancing the realism of the portrait.
Careful attention is given to the eyes, lips, and hair to create lifelike representations. Smaller brushes are used to add highlights and shadows that define the features more distinctly.
Textures that mimic skin, fabric, or hair can be achieved by varying brush techniques. The artist may use stippling for skin texture or dry brushing for hair strands.
Layering glazes can enhance depth, allowing for more nuanced shadows and lights. This step brings the portrait closer to completion.
Final Touches and Glazing
The final phase involves applying final touches and glazing. This is where the portrait is polished to achieve its fullest potential.
The artist reviews the entire work, making adjustments to color vibrancy and detail sharpness. Adding subtle highlights can enhance facial features and improve the overall contrast.
Glazing involves applying a thin, translucent layer of paint to unify colors and enhance luminosity. This technique can create a stunning depth that draws the viewer’s eye.
Once satisfied, the artist can sign the work, completing the journey from concept to finished portrait.
Post-Painting Practices
After completing a portrait, attention turns to preserving the artwork and ensuring it is appropriately presented. Proper care at this stage enhances both the durability and visual appeal of the painting.
Protecting the Painting
To preserve a portrait, applying a protective varnish is essential. This layer fends off dust, moisture, and UV rays. Artists typically wait at least six months after the paint has dried before varnishing to prevent any chemical reactions.
Several varnish options exist, including:
- Matte Varnish: Offers a non-reflective finish.
- Satin Varnish: Provides a balanced sheen.
- Gloss Varnish: Enhances color vibrancy but may reflect light.
Before application, make sure the painting is clean and dust-free. Use a soft brush or a lint-free cloth for this task.
Framing and Presentation
Framing a portrait not only protects it but also enhances its aesthetic value. Choosing the right frame can complement the colors and style of the artwork.
Consider these frame types:
- Traditional Frames: Classic styles that suit realistic portraits.
- Floating Frames: Create an illusion of depth, highlighting the artwork.
- Custom Frames: Tailor-made options for unique sizes and designs.
Additionally, using UV-protective glass can shield the painting further from light damage. Proper mounting methods, such as using hinges or spacers, can prevent warping or damage over time.